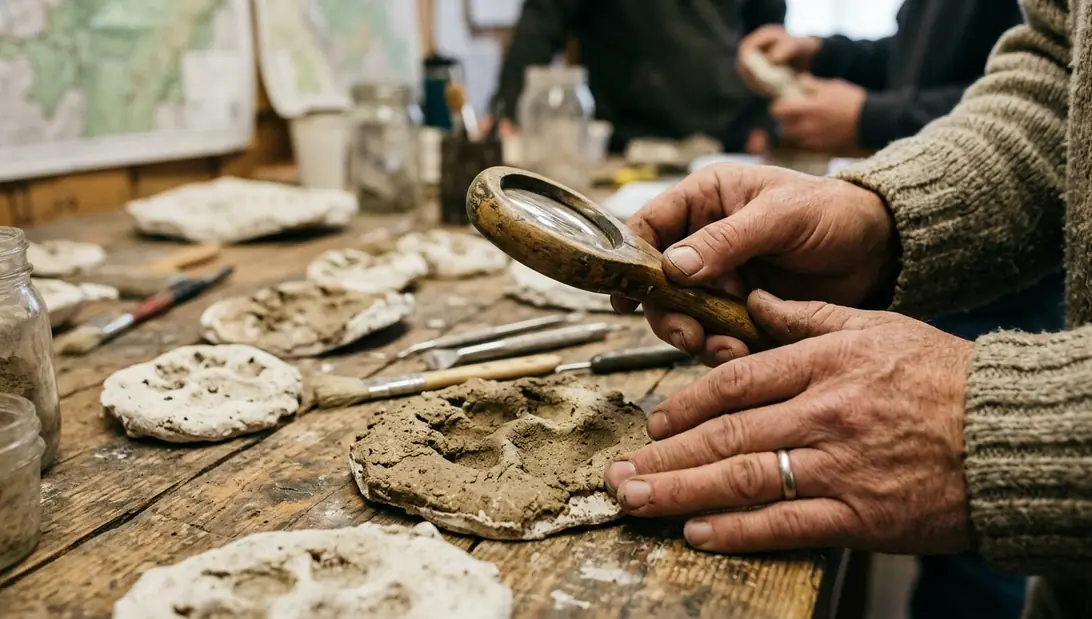
The Evolution of Appalachian Snow Tracking
Appalachian carnivore work changed when field teams stopped treating summer sightings as the main evidence stream.
In leaf-on season, a dark animal crossing a forest road may be honest testimony, but it rarely gives a second observer anything to test. Dense rhododendron, mountain laurel, spruce edges, and young hardwood regeneration can hide an animal at short distance. The report stays tied to memory, angle, light, and expectation.
Winter tracking solved a different problem. Snow-covered travel surfaces hold a sequence: print, stride, straddle, gait, substrate, direction of travel, and sometimes biological material. The mid-Atlantic protocol therefore gives priority to snow-covered ridgelines, frozen waterways, roadbeds, and old logging grades rather than open summer sighting locations.
Why the Monongahela forced standardization
The Monongahela National Forest official terrain data shows the basic challenge before any crew sets foot on snow. Steep coves, narrow drainages, high ridgelines, old logging grades, and evergreen understory create broken visibility and concentrated movement corridors. A large carnivore can stay unseen, yet its route may still compress into predictable saddles or drainage crossings.
That combination pushed the protocol toward repeatable winter transects. The goal is not to chase a rumor. The goal is to put trained observers on the same mapped corridors after suitable snowfall, using the same measurement sequence each time.
Main Point: Snow tracking matters because it converts a fleeting report into a documentable trail pattern that another field team can review.
Establishing Survey Transects in the Monongahela
Transects are chosen before storms arrive. Once ice loads the canopy or a forest road closes, improvisation becomes a safety problem and a sampling problem at the same time.
Mapping corridors before snow
The planning sequence starts with GIS layers for elevation, slope, road access, drainages, saddles, and historic logging grades. Routes then target features that tend to organize travel: ridgelines, frozen waterways, roadbeds, logging roads, saddles, and narrow passes between steep coves.
Pre-season scouting confirms whether a route that looks clean on a map can actually be walked under winter load. A logging road buried under slash, for example, may be a poor human transect even if it remains useful for animal travel. A ridge saddle with safe approach, firm parking, and multiple intersecting game trails earns higher value.
Endpoints and repeatability
Each transect receives recorded GPS start and stop coordinates. Those endpoints do not move because a crew feels curious about a side trail. If a detour becomes necessary for safety, the field notes record where the original transect stopped and where the deviation began.
Consistent transect length matters because the next team must be able to compare effort, weather, and detection conditions without decoding another observer’s route choices. The discipline is plain: same start, same stop, same corridor, same storm window whenever access allows.
High-elevation zones receive priority, but severe winter access can force crews to operate below about 4,000 feet when roads, ice loading, or storm closure make upper approaches unsafe. That boundary deserves careful language. The method documents where trained observers can safely travel after snow; it does not prove that storm-closed basins or unsurveyed higher ridges lacked carnivore activity.
Controlling Environmental and Temporal Variables
The timing rule comes first: begin surveys 12 to 24 hours after a snowfall event that deposits at least 2 inches of new snow.
That window gives animals time to cross a clean surface, but it limits the damage caused by sun, wind, refreeze, and falling debris. Too early, and the crew may walk a blank transect. Too late, and the track may become a sculpture made partly by weather.
Distortion before identification
Solar radiation, wind drift, and temperature swings are treated as distortion variables before any species-level interpretation is made. A large, rounded print exposed to midday sun on a south-facing logging road can mimic a larger carnivore through melt-out. Enlarged width alone should not carry the identification.
The opposite condition can be just as instructive. A north-facing hollow with crust-over-soft snow may preserve sharp toe detail for many hours longer than an exposed ridge saddle, even when both sites received the same snowfall. The track is not just the animal’s mark; it is the animal’s mark filtered through snow physics.
Baseline environmental record
- Ambient temperature at transect start
- Snow depth at a representative undisturbed location
- Snow crust condition, including powder, wet snow, granular refreeze, or crust-over-soft snow
- Recent wind loading and visible drift
- Cloud cover or direct sun exposure
- Substrate notes where the track crosses roadbed, ice, packed snow, or forest litter
These notes keep measurement from becoming detached from context. A print with soft walls in wet snow cannot be judged the same way as a print cut sharply into cold powder.
Essential Field Equipment and Calibration
Equipment selection follows one standard: the same track should be photographable, measurable, swabbable, castable, labeled, and transported without changing tools mid-protocol.
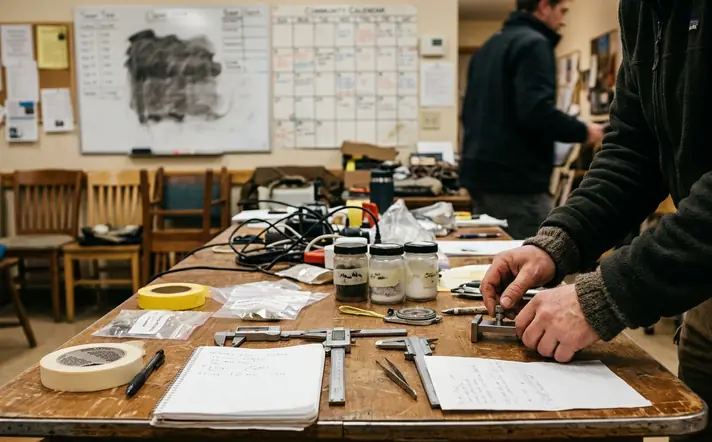
Mandatory technical kit
- Digital calipers
- Standardized scale bars
- GPS units
- Sterile swabs and sterile vials
- Preservation buffer
- Disposable gloves and forceps
- Preprinted field labels
- Waterproof notebooks
- Alginate and plaster backing material
- Mixing bags
- Rigid transport containers
The list may look heavy for a winter transect, but it prevents a familiar field compromise: finding a good track and lacking the one item needed to preserve it.
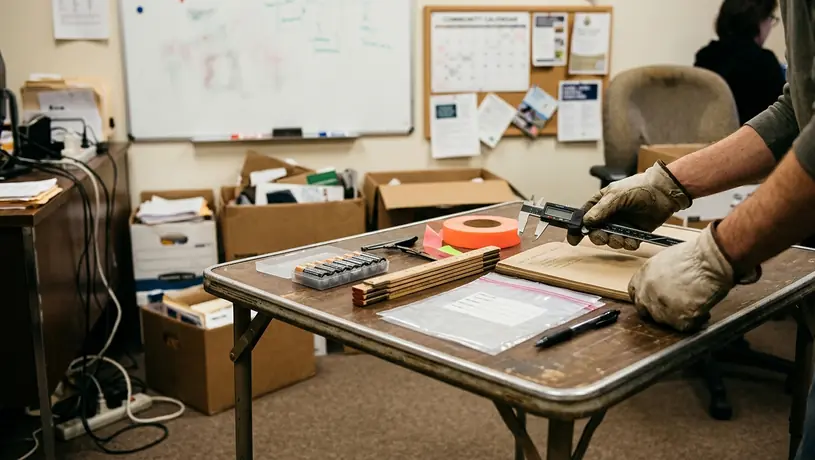
Calipers in sub-freezing air
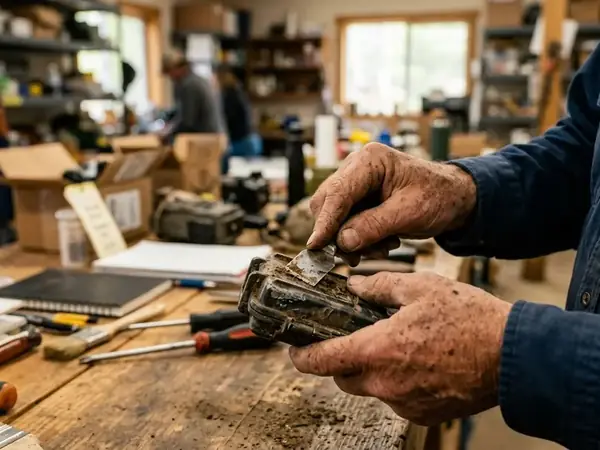
Digital calipers are zeroed before the transect and checked again after exposure to sub-freezing air. Cold can weaken batteries and introduce measurement drift, especially when the tool moves repeatedly between a warm pocket and open air.
Spare batteries ride inside an inner clothing layer, not in the outer pack lid. The check takes little time: close jaws, confirm zero, open against the scale bar, confirm expected reading, then measure. If the display flickers, the tool comes out of service until the battery is replaced and the zero check repeats.
Sterile DNA kits
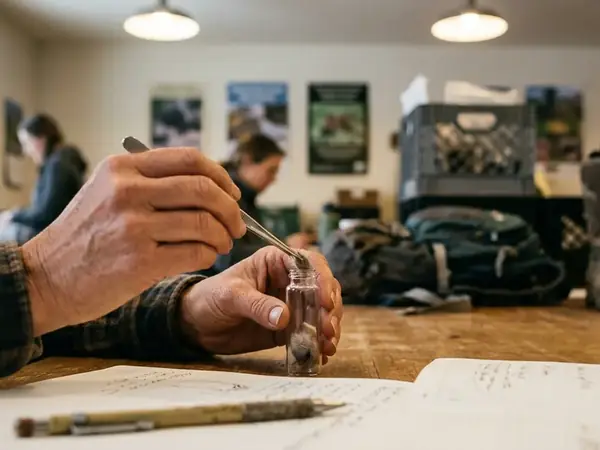
DNA collection kits are pre-labeled before field deployment. Labels link the sample to the transect, GPS coordinates, photographs, and measured print. Field crews open the kit only at the selected print to reduce cross-contamination from packs, gloves, or previous track sites.
Caution: A swab handled with the same gloves used to adjust snowshoes or camera straps can compromise the sample before it ever reaches preservation buffer.
Track Identification and Measurement Protocols
Measurement begins only after the trackway is photographed undisturbed. Caliper work requires proximity, and proximity collapses rims, drops snow from sleeves, and changes the evidence scene.
Single-print measurement
- Select the clearest individual print, preferably one with visible pad structure and minimal collapse.
- Place the scale bar beside the print without touching the rim.
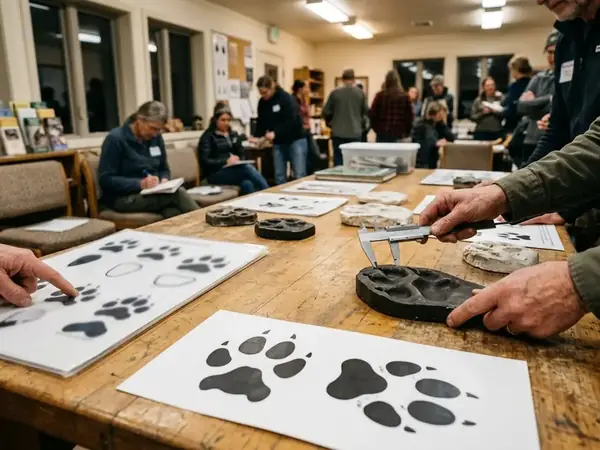
- Measure maximum track length with digital calipers, excluding claw marks.
- Measure maximum track width across the widest portion of the print.
- Record substrate and distortion notes next to the measurements, not on a separate page.
Excluding claws is not a small detail. Canid claws may register clearly in suitable snow, while felid tracks often show a different pattern. The measurement must separate print body from claw extension before comparison begins.
Trackway measurement
Stride is the distance between consecutive impressions made by the same foot. Straddle is the width of the trail across the trackway, using the consistent outer or center reference chosen by the team before measurement begins.
That reference choice must stay fixed across the transect. Switching from center-to-center to outside-edge measurement halfway through a trackway creates numbers that look precise but describe different things.
Gait and comparative interpretation
Gait analysis records direct registering, offset between front and hind prints, trail width, leading-toe arrangement, claw registration, and whether the track pattern shows felid-like precision or canid-like overstep and spread. The question is comparative: does the whole trackway behave like a large felid, or does a single impressive print pull attention away from a canid pattern?
Large canids can leave rounded prints in soft or melting snow. A felid interpretation needs more than size. It needs a coherent sequence: tight trail, suitable straddle, direct registering, leading-toe structure, and claw evidence that fits the substrate rather than wishful identification.
Expert Tip: When one print looks exciting but the next six prints argue against it, trust the trackway before the single track.
Non-Invasive DNA Collection Techniques
DNA sampling happens after photography and before casting. Casting material can dilute, bury, or contaminate cellular residue, so the collector works while the print bed is still intact.
What to sample
Non-invasive environmental DNA collection targets biological residue in or adjacent to the track impression: hair, urine, scat, blood, and cellular material bound to compacted snow crystals. The best target is not always visible. A clean-looking print may still hold sloughed cells where the foot compressed snow.
The collector searches the print bed, the immediate rim, and any drag or brush contact associated with the track. If scat or hair occurs beside the trackway, it receives its own label and vial rather than being bundled into a general track sample.
Sterile swabbing sequence
- Put on fresh gloves at the sample site.
- Open one sterile swab and one sterile vial only when positioned at the selected print.
- Moisten or use preservation buffer as specified by the kit protocol.
- Swab compacted snow crystals and visible residue with controlled pressure.
- Place the swab into the vial, seal it, and apply the field label immediately.
- Record the sample identifier beside the photograph numbers and GPS coordinates.
Partnerships with genetic laboratories can provide high-confidence species identification through DNA analysis, but the field condition still governs what reaches the bench. Extraction success drops sharply when exposed track snow sits in direct sunlight for prolonged periods before sampling. That qualifier matters in the Monongahela, where a shaded hollow and a south-facing road can produce very different sample quality on the same day.
Field Execution: Documenting a Trackway Step-by-Step
Consider a fresh line of large carnivore-like tracks crossing an old logging grade after overnight snow. The crew has already entered the transect from its mapped start coordinate. The lead observer sees the first print where the roadbed bends toward a frozen drainage.
Worked case
- Halt 10 feet from the first visible print. The lead observer stops the team before anyone walks the line. One person marks a safe approach route along the downhill edge of the roadbed. The recorder logs initial GPS coordinates, ambient temperature, snow depth, crust condition, wind exposure, and recent sun exposure.
- Photograph before measuring. The photographer takes an overview of the full trackway, then frames individual diagnostic prints with a standardized scale bar. No calipers enter the print until the undisturbed images are complete.
- Measure the 20-foot section. The team chooses the least disturbed continuous segment. Stride is measured between consecutive impressions of the same foot. Straddle is recorded using the team’s chosen reference line and kept consistent through the section.
- Select one diagnostic print. The clearest print receives maximum length measurement excluding claws and maximum width measurement across the widest portion. The recorder notes whether toe detail, rim shape, and pad structure appear sharp, melted, drifted, or crust-broken.
- Collect eDNA before casting. A collector changes gloves, opens a sterile swab and vial at the print, swabs compacted snow from the track bed, seals the vial, and labels it with the sample identifier tied to GPS coordinates and photo numbers.
- Cast for transport. The crew mixes alginate, pours it into the impression, adds plaster backing after the initial set, and places the finished cast in a rigid container once stable.
The field note for this case should be copyable: “Transect MNF-ridge-03, start coordinate recorded, trackway encountered on logging grade at drainage bend, team halted 10 feet out, 2-inch-plus snowfall window met, 20-foot stride and straddle section photographed with scale bar, diagnostic print measured length excluding claws and maximum width, eDNA vial MNF-ridge-03-S1 sealed before alginate cast.”